In today’s visually driven world, static images often fall short of engaging audiences. Image to Video AI offers a creative solution, enabling users to transform photos into dynamic videos with ease. However, for beginners, diving into the world of AI-powered video tools can feel intimidating. From figuring out where to start to understanding how to get the best results, the learning curve can be steep.
This guide aims to help beginners navigate their first steps with photo to video, offering practical advice, realistic expectations, and tips for gradual improvement.
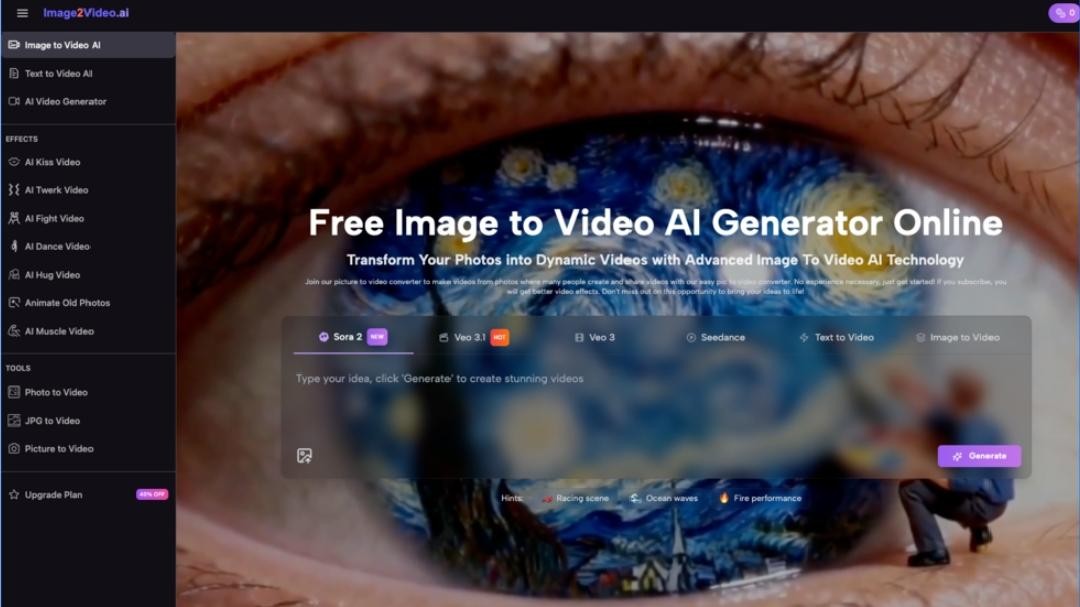
What Is Image to Video AI?
Image to Video AI is an innovative technology that uses artificial intelligence to convert static images into animated videos. By uploading photos and providing simple text prompts, users can create videos that include animations, transitions, and other dynamic elements. These tools are ideal for a variety of use cases, including social media content, marketing materials, educational resources, and personal projects.
Key Features of Image to Video AI
- Support for Common Image Formats: Works with JPEG and PNG files.
- Dynamic Animations and Transitions: Adds life to static photos with smooth animations and cinematic effects.
- Beginner-Friendly: No technical expertise required—just upload, describe, and create.
- Cross-Platform Accessibility: Fully web-based and mobile-friendly, with no software downloads needed.
Common Challenges for Beginners (and How to Overcome Them)
Although Image to Video AI tools are designed to simplify video creation, first-time users often face challenges. Here are some common hurdles and strategies to overcome them:
1. Not Knowing Where to Start
For many beginners, the simplicity of uploading a photo and typing a description can feel almost too easy, leading to doubts about whether the tool will produce satisfying results.
Solution:
- Start Small: Choose one high-quality image and experiment with basic effects. For example, “Add a soft zoom-in effect with a blue sky background.”
- Follow the Step-by-Step Guide: Most Image to Video AI platforms, including the one described here, provide clear instructions to help users get started.
2. Results Don’t Match Expectations
It’s common for beginners to feel disappointed when the output doesn’t align with their vision. This often happens due to vague descriptions or unrealistic expectations of what the tool can do.
Solution:
- Adjust Expectations: Understand that AI tools are designed to assist, not replace creativity. It may take several iterations to get the desired result.
- Refine Your Prompts: Use clear, detailed language in your descriptions. For example, instead of “Make it look cool,” try “Add a smooth fade-in effect with subtle motion blur.”
3. Limited Understanding of Features
Beginners may not realize the full potential of the tool, such as advanced transitions, text overlays, or camera movement controls.
Solution:
- Explore the Features Library: Many Image to Video AI tools offer a variety of effects, filters, and animations. Spend time exploring these options to understand what’s possible.
- Experiment Gradually: Start with simple features like transitions or basic animations, and then move on to more advanced options like camera motion or text overlays.
A Beginner’s Workflow for Image to Video AI
Here’s a step-by-step guide to help beginners create their first video using an Image to Video AI tool:
1. Upload Your Image
Choose a photo you want to transform into a video. Ensure the image is clear and high-resolution (JPEG or PNG format) for the best results.
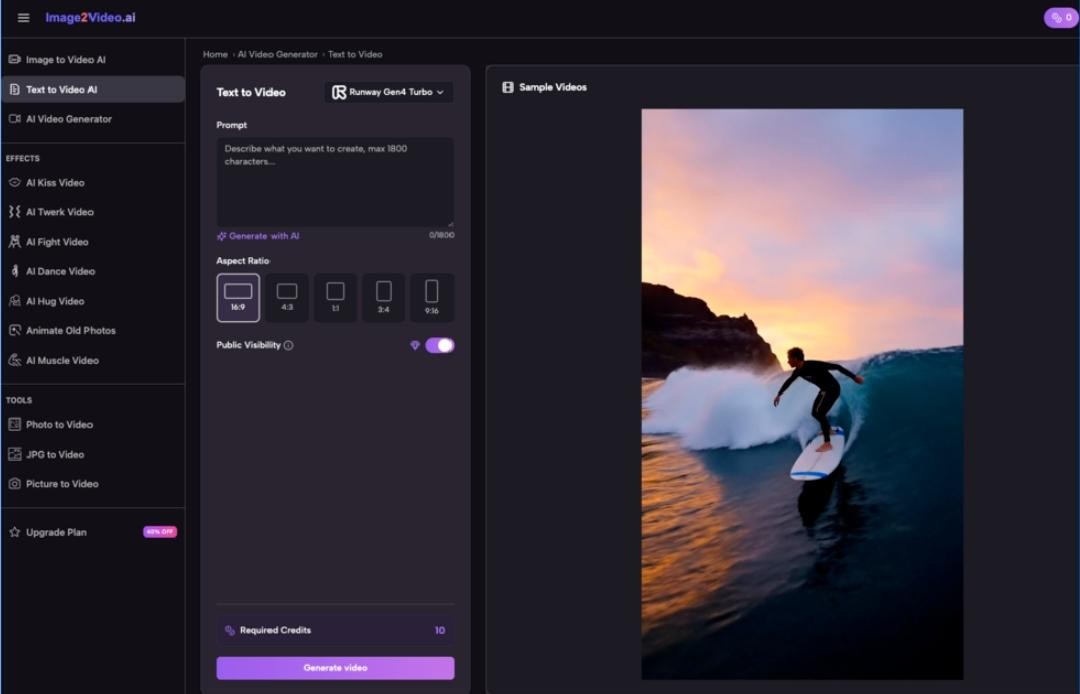
2. Enter a Prompt
Describe your vision in simple, natural language. Examples:
- “Zoom in on the center of the image with a slow fade-out.”
- “Add a dynamic transition effect with soft background music.”
3. Let the AI Process
Once you’ve entered your prompt, the AI will process your request. This typically takes just a few minutes. During this time, the AI analyzes your input and applies the requested effects.
4. Review and Refine
Once the video is generated, review the output. If it doesn’t meet your expectations, adjust your prompt or try a different image to refine the result.
5. Download and Share
When satisfied, download the video (usually in MP4 format) and share it on social media or use it in your project.
Debunking Common Myths About AI Video Creation
When starting out with Image to Video AI, it’s easy to have misconceptions about what the tool can do. Let’s address some common myths:
Myth 1: AI Can Perfectly Execute Any Idea
Reality: While AI is powerful, it’s not a magic wand. It works within certain parameters and is best at enhancing your creative ideas rather than completely replacing human input.
Myth 2: AI-Generated Videos Don’t Need Editing
Reality: While Image to Video AI can generate impressive results quickly, more complex projects may still require additional editing in traditional video software to achieve a polished finish.
Myth 3: AI Tools Are Fully Automated
Reality: AI tools rely on user input and guidance to create meaningful results. Clear and detailed prompts are essential for achieving the desired outcome.
Tips for Streamlining Your Workflow
As you become more familiar with Image to Video AI, you can adopt strategies to make your workflow more efficient:
1. Define Your Goals
Before starting a project, clarify the purpose of the video and your target audience. For example:
- Is it a quick social media post or a polished marketing video?
- Should the tone be fun and casual or formal and professional?
2. Use Templates and Presets
Many Image to Video AI platforms offer templates and preset effects. These can save time and provide inspiration for your projects.
3. Batch Process for Efficiency
If you need multiple videos (e.g., for a social media campaign), look for batch processing options to convert multiple images into videos simultaneously.
4. Reflect and Improve
After each project, review the results and take note of what worked well. This will help you refine your prompts and techniques for future projects.
Conclusion: Embracing the Journey of AI Video Creation
Using Image to Video AI for the first time can feel overwhelming, but the journey is worth it. By starting small, experimenting with features, and refining your approach over time, you’ll gradually unlock the full potential of these tools. Remember, AI is here to assist—not replace—your creativity. With patience and practice, you can transform your workflow, create stunning videos, and bring your static images to life in ways you never imagined.